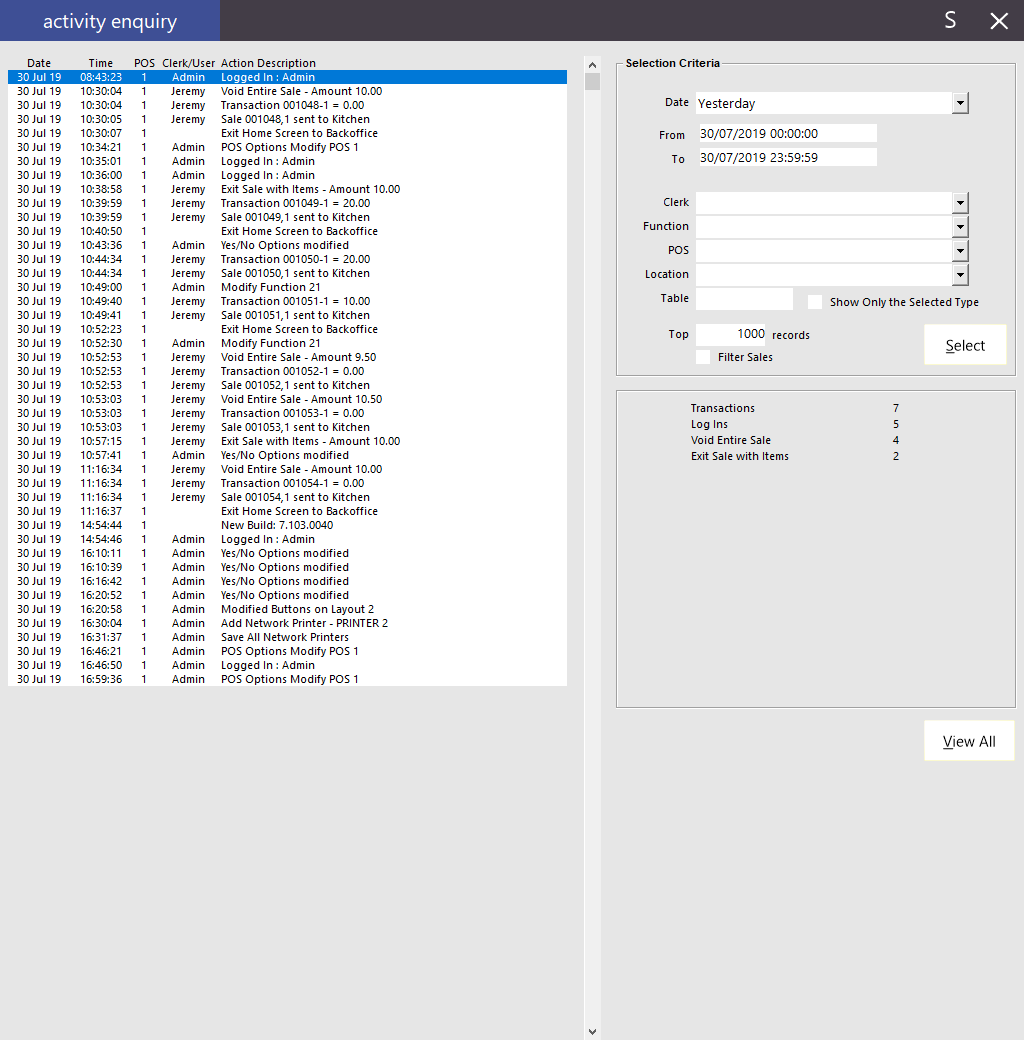
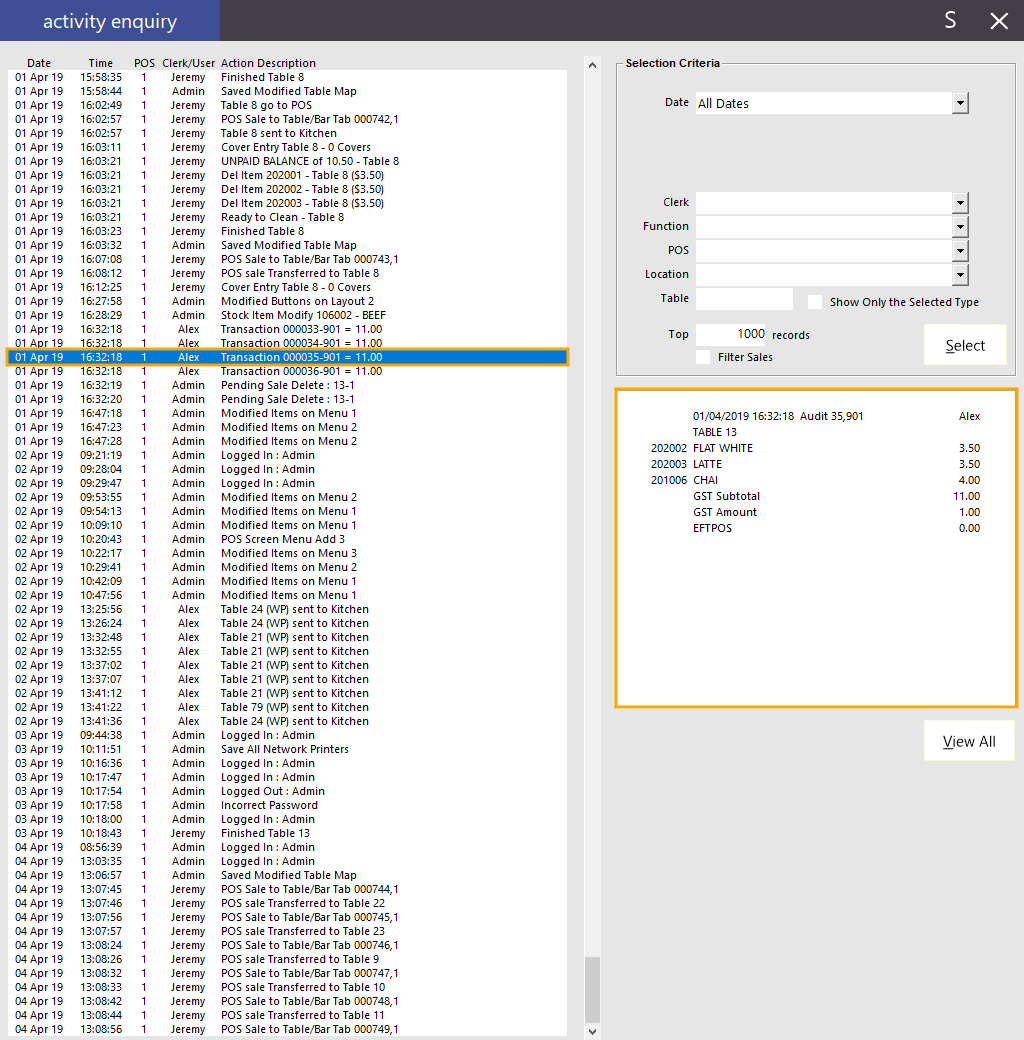
The Activity Enquiry function can be accessed by going to Enquiry > Activity Log.
When opening the Activity Enquiry, it will default to displaying any Activity that has occurred Today.
Unlike the Activity Log, any data in the Activity Enquiry is retained after Idealpos is restarted.
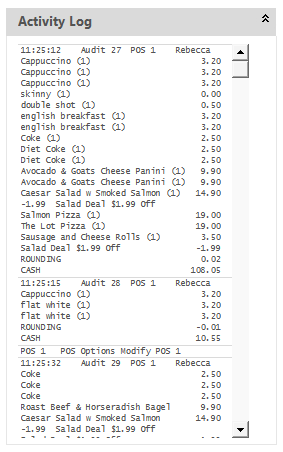
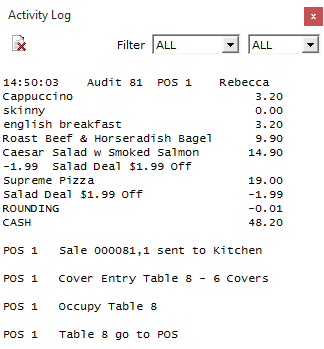
The Activity Enquiry displays similar data that is available via the Activity Log, with additional features and functionality.
Examples of activity that can be enquired include Sales, Kitchen Prints sent to the Kitchen, Logged In events, Logged Out events, changes to settings, etc.
This can be useful in cases where you are investigating what date and time a specific event took place.
Selection Criteria:
Date: Provides a list of periods that can be used to query events. Any period selected will pre-fill the From/To fields below.
From: Enter the start period for the activity enquiry. This field is pre-populated based on the selection made in the "Date" field and includes the Date and Time.
Clicking into this field will result in the "Date" field changing to "Custom Date".
To: Enter the end period for the activity enquiry. This field is pre-populated based on the selection made in the "Date" field and includes the Date and Time.
Clicking into this field will result in the "Date" field changing to "Custom Date".
Clerk: Select the Clerk that you want to enquire.
Function: Select the Function that you want to enquire. The Function option lists various actions that have been performed such as Table Actions, POS Transactions and more.
POS: Select the POS terminal number that you want to enquire.
Location: Select the Location that you want to enquire.
Table: Enter the Table Number that you want to enquire
Show Only the Selected Type: This checkbox is used for only showing the selected type of event.
If you see a specific event in the Activity Enquiry such as Incorrect Password and you want to see all "Incorrect Password" events, ensure that the type of event you want to see is selected from the list of events on the left-hand side, tick this box, then press the "Select" button. All other event types will be hidden except for the selected type.
Top # records: This restricts the number of results displayed to the value entered.
The default is top 1000 records, but if you want to widen or reduce the number of search results, adjust the value in this field then press the "Select" button.
Filter Sales: This option controls whether Sale transactions will appear in the Activity Enquiry results. When this option is unchecked, Sales will be displayed and when this option is checked, Sales will be hidden. Modifying this tickbox will update the results in the Activity Enquiry without the need to press the "Select" button.
Select button: This button will filter the results based on the values entered in the Selection Criteria. After making your selections, press this button to ensure that the results displayed in the Activity Enquiry have been updated.
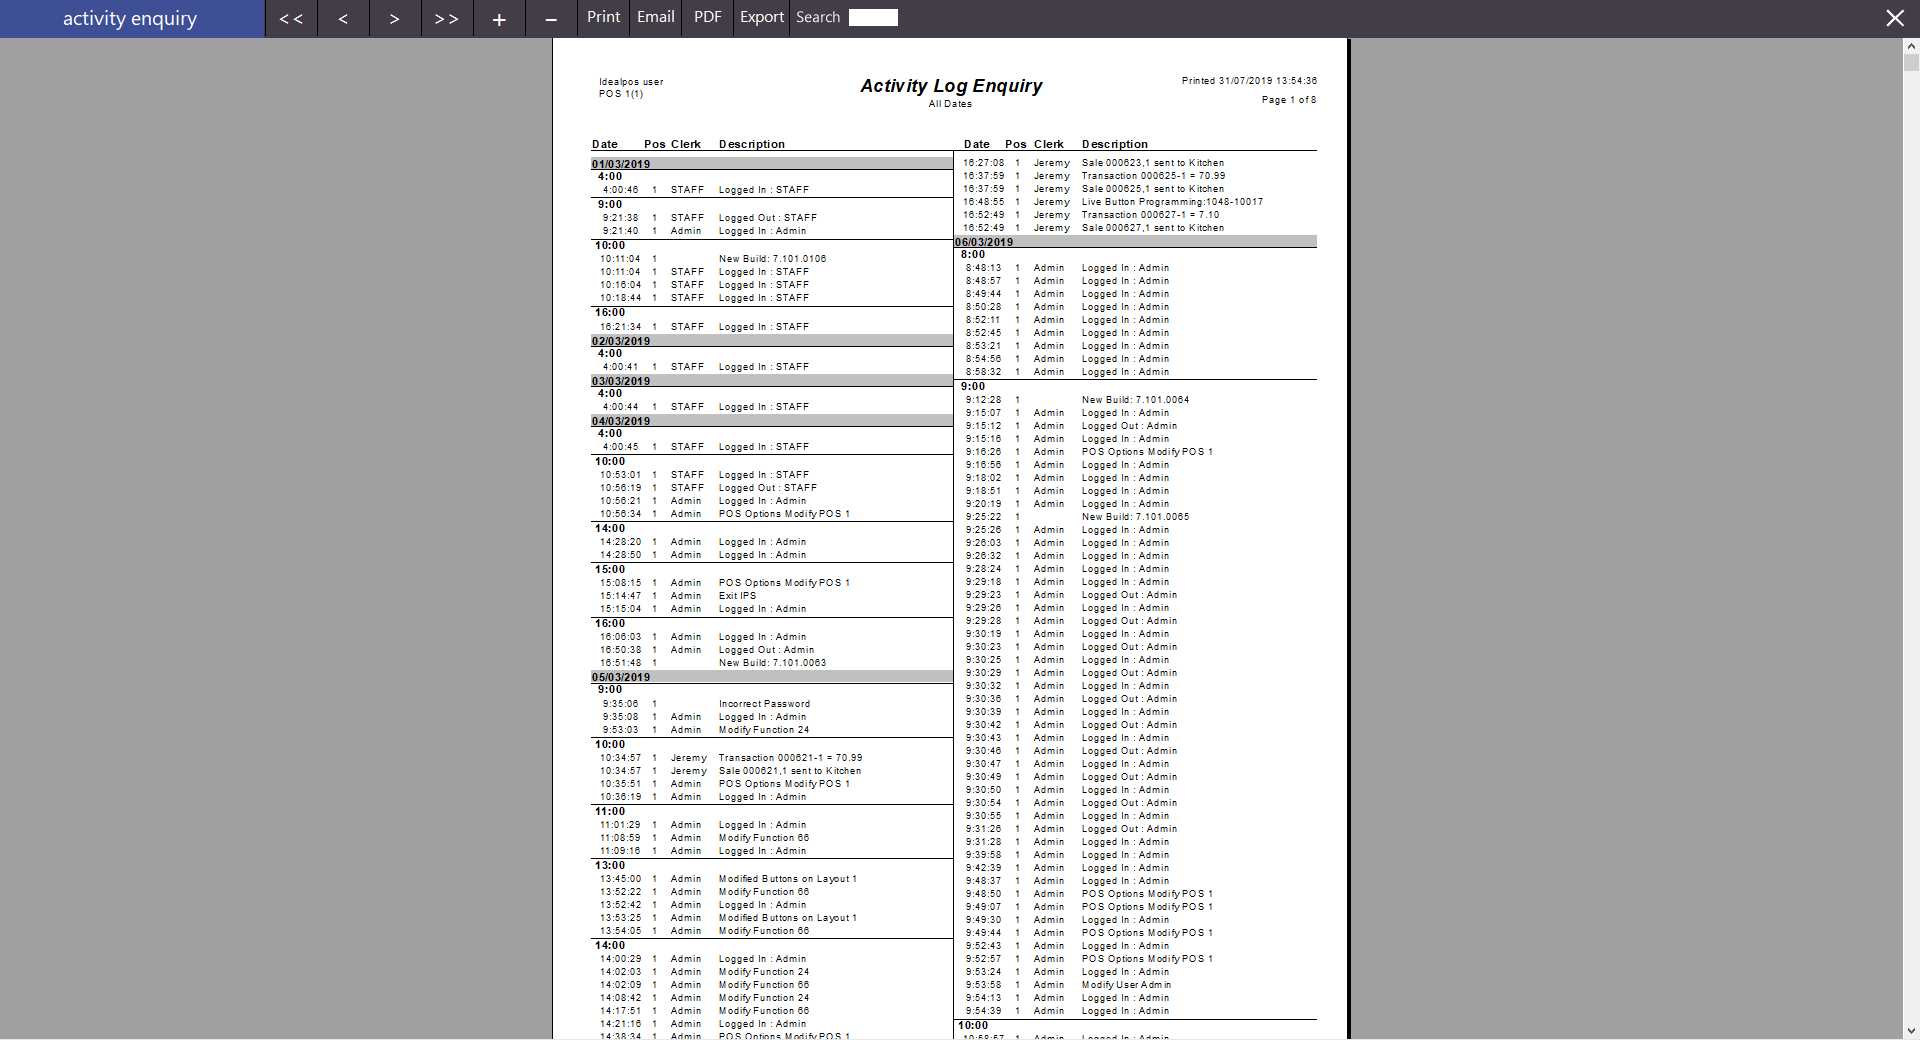
View All button: This button will produce a report based on the current results that are displayed in the Activity Enquiry
Additional information for events can also be displayed in the Activity Enquiry window.
Not all events contain additional information, with events that contain additional information mainly being Sales transactions and saving sales to a Table/Bar Tab.
From the left-hand side of the screen, select the event that you want to view and the details relating to that event will be displayed on the right-hand side, as shown in the below example:
If required, the "View All" button can be pressed to generate a report containing all the current events that are displayed in the Activity Enquiry.
The report can then either be printed, Emailed, Converted to a PDF or Exported.
